


Amputation rehab: What to expect
The rehabilitation process is critical for anyone who has recently lost a hand or arm. Find out how it can help heal your residual limb, restore your mobility, and prepare you for a prosthetic arm.
The rehabilitation process is critical for anyone who has recently lost a hand or arm. Find out how it can help heal your residual limb, restore your mobility, and prepare you for a prosthetic arm.
What lies ahead for you after the amputation?
Directly after the operation, your recovery and the healing of the residual limb are the main concerns. Both are important so that you can begin with rehabilitation soon and a prosthesis can be fitted.
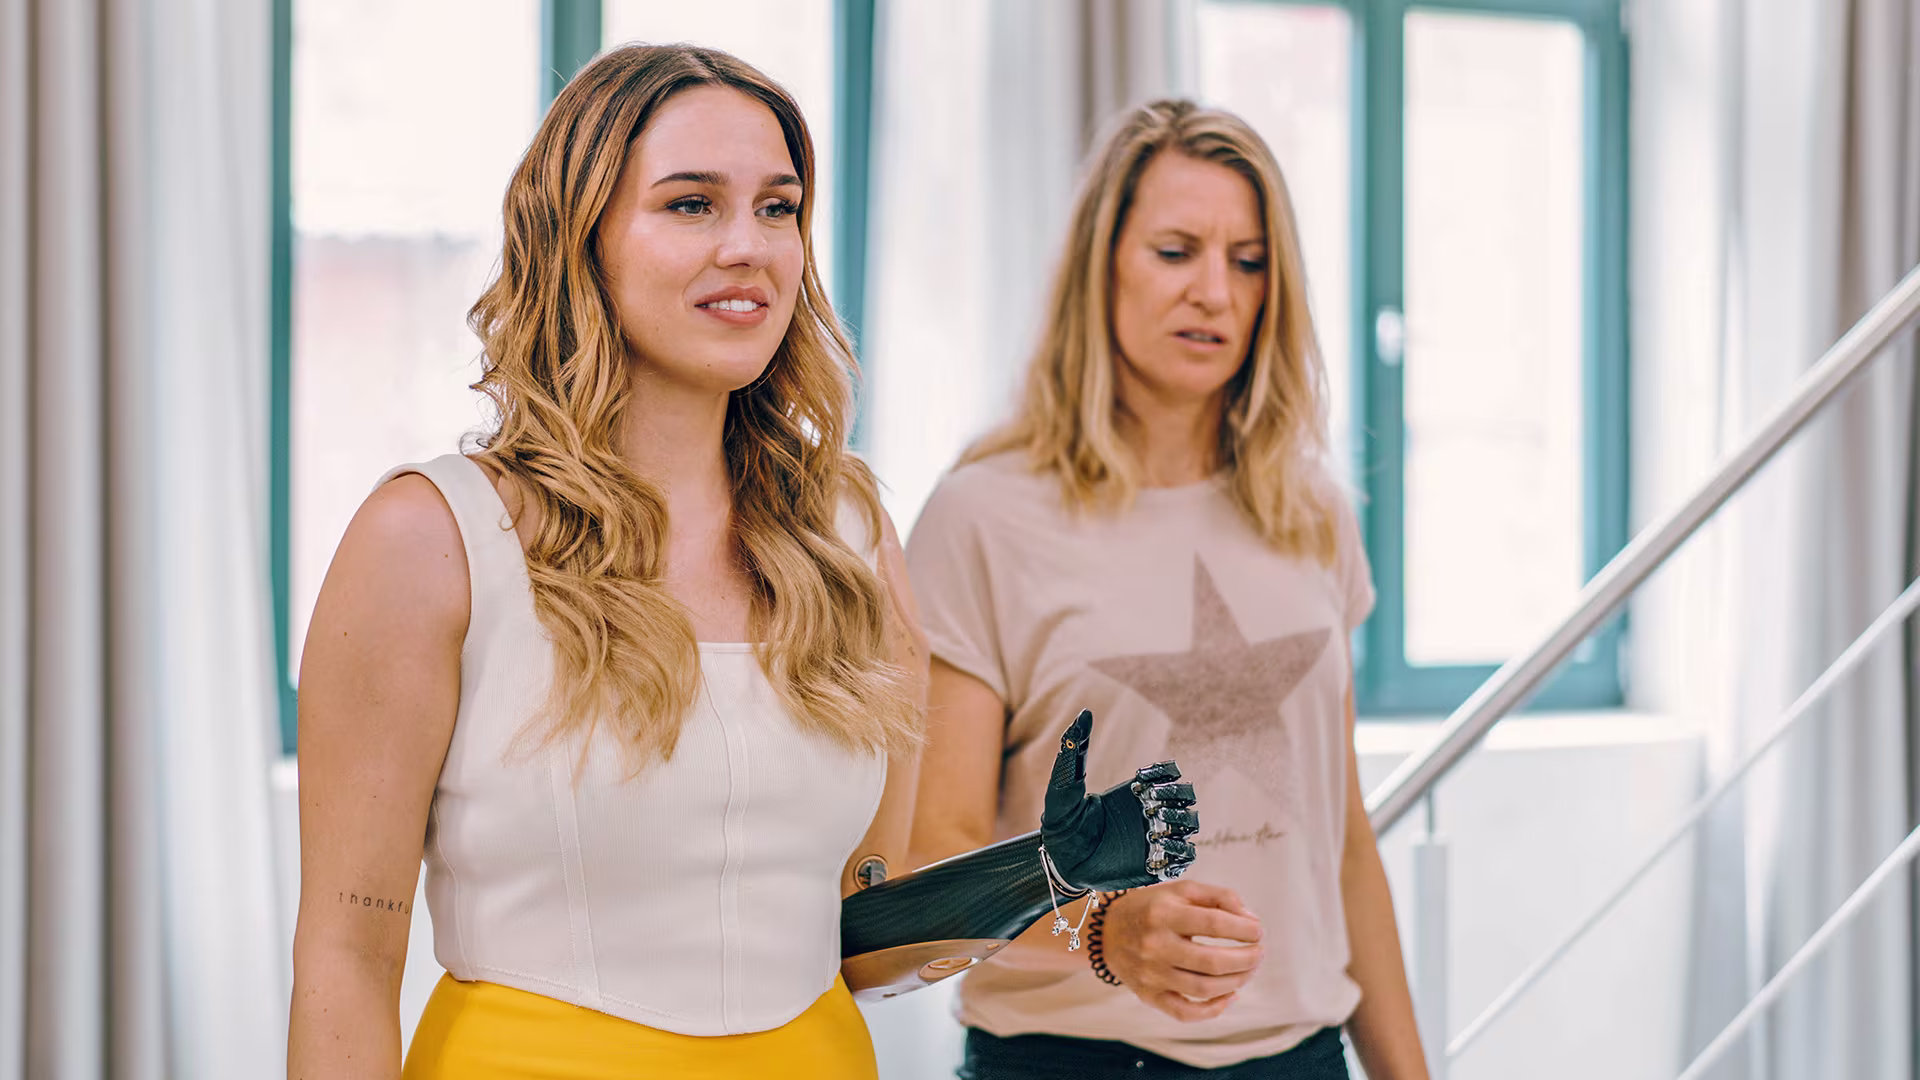
The following information is intended to prepare you for wearing a prosthesis. This makes it easier for you to use the prosthesis to best effect later on. Since we can’t address every individual case, we will only look at transhumeral amputations in the following.
Therapy begins shortly after the amputation. The wound is treated to prepare it for wearing a prosthesis. As soon as the surgical wound has healed properly, the actual prosthetic fitting and rehabilitation process can begin. In most cases, this will take up to six months.
Your own contribution becomes increasingly important in the course of therapy. Your rehabilitation team will support you. If you notice that certain measures listed here are not being implemented in your case, please ask your rehabilitation team. Your therapists can evaluate whether the measures would be useful for you.
Prepare your residual limb for wearing a prosthesis
The healing of your residual limb after the leg amputation forms the basis for the subsequent prosthetic fitting and is therefore especially important. In the hospital, the doctors treating you will continuously monitor and check the healing process, while the inpatient nursing staff looks after the daily treatment of your residual limb. In addition to wound treatment, this includes oedema and compression therapy, desensitising the skin, and scar care, among other things.
Early edema management
At first, your hospital care team will only losely bandage your residual limb to avoid putting any additional pressure on your wound and stitches. They’ll regularly change this bandage as they monitor you.

Starting compression therapy
Once your doctor or surgeon decides you’re ready, your care team will then wrap your wound in a tighter dressing that fits snugly to your residual limb. This is called “compression therapy,” which helps reduce pain, heal your scar, improve blood flow, and reduce swelling. It also helps shape your residual limb for your future prosthetic.
Your care team will typically apply this helpful pressure one of two ways.
Compression bandage
This adjustable elastic bandage is designed to wrap around your residual limb, applying firm pressure that decreases toward your body. The wrap can then be adjusted as needed throughout the day.
Putting on a compression bandage can take some practice and experience. In most cases, someone on your care team will help you apply it at first, then teach you how to do so yourself. A compression bandage should never be painfully tight or cut off feeling in your residual limb.
Silicone liners
These devices are a quick, easy-to-use alternative to a compression bandage, and come in many ready-made sizes.
If you and your care team decide to try a silicone liner, always make sure that no air is trapped at the end of the liner once you put it on. This will help ensure your liner applies pressure to your wound as evenly as possible.
You may also find that your residual limb sweats more when you wear a silicone liner. This typically stops after you’ve gotten used to the device. To avoid skin irritation, try applying a product like Ottobock Derma Prevent to your skin at the edge of the liner. Make sure you also clean your liner regularly according the instructions for use.

Later compression therapy
Your care team will typically have you continue compression therapy until they can tell that your residual limb is no longer changing size (a sign that the swelling is gone). During this time, they’ll train you or your caregiver to use your compression bandage or silicone liner at home.
Once your care team decides you can stop compression therapy, you’ll be ready for an important new step: trying out your first prosthesis!

Training without the prosthesis
This preparatory training strengthens the torso musculature, including the abdomen and back, the sound arm and the legs. The residual limb should already be included in the exercises as well.
Positioning your residual limb
After surgery, you’ll naturally want to put your residual limb in the most comfortable, least painful position possible. You may rest it on a pillow or prop it up in some way.
While this may help reduce your pain at first, it can also cause your remaining arm muscles to shorten and stiffen. This can limit the amount of mobility you’re able to achieve later on. Over time, your hospital care team will encourage you to leave your residual limb extended by your side as much as possible when you’re not exercising or caring for it.

Strengthening your residual limb
As soon as possible after your surgery, your care team will also encourage you to start moving your residual limb a few times every day. This exercise can help improve your mobility, balance, and circulation, and also help you achieve the greatest range of motion possible once you start using a prosthetic.
It’s particularly important to get your shoulder moving again (if possible), because it may otherwise stiffen and limit your ability to move your arm. Your care team will show you how to move and position your residual limb in ways that best support your recovery, healing, and preparation for a prosthesis.

Strengthening supporting muscles
As you start to move your residual limb again, you may notice that having an upper limb difference can affect other parts of your body too.
For example, it’s normal to feel some strain on your back. That’s because your body’s weight and balance have shifted and your muscles need time to get used to the change.
You can help by regularly exercising your upper body, shoulders, torso, and legs. Doing so can help your body adapt to its new balance, strengthen important muscles that support your residual limb, and set you up for greater independence after your recovery.

Training your sound side
After you lose a hand or arm, you may soon find you need to rely on your remaining limb in many new ways (especially if you’ve lost your dominant hand).
As you work on strengthening your residual limb, your care team will also show you some useful ways to build new skills on your sound side. These may include important daily activities – like brushing your teeth, typing, or using a smartphone – that you may want to be comfortable doing one-handed.

Skin and scar care
In most cases, amputation wounds close in three to four weeks and then start forming a scar. But while your scar may look like it has healed after a few weeks, the full healing process takes much longer – typically about eighteen months.
During that time, caring for your skin and scar is a top priority. A few key steps can help you ensure your residual limb heals successfully, and that it’s ready for a prosthesis when you’re ready to start using one.
In the hospital, the nursing staff and doctors took care of your residual limb by cleaning the wound and changing the bandages or dressings. In the rehabilitation phase, you now care for your residual limb, the scar and also your sound arm yourself. Being able to wear your prosthesis without problems requires ongoing, intensive care.
Desensitising the skin
The skin on the residual limb is often very sensitive after the amputation. You can take various steps to address this. Always use materials that are comfortable for you and work from the end of the residual limb towards the body.
Desensitizing your skin
After your amputation, the skin on your residual limb may be uncomfortably sensitive. There are a few ways you can reduce that discomfort:
Gently rub or tap your skin with a soft brush or a spiky massage ball. This will help slowly increase the amount of pressure your skin can take.
Gently rub down your residual limb with a bathtowel or washcloth.
Whichever you try, aways start at the end of your residual limb and work toward your body.

Cleaning your skin
Keeping your residual limb clean is also very important. Wash it every day with lukewarm water and an unscented, skin-friendly soap.
Ottobock offers several care products that can help you clean your skin or scar. Or, you can ask your prosthetist for recommendations.

Scar treatment
In most cases, the amputation wound closes within the first three to four weeks and forms a scar. But even if the scar appears to have healed well from the outside and only the colour of the scar tissue changes slightly from this point on, the overall scar healing process takes considerably longer. It takes about a year and a half for it to fully heal internally.
You should regularly moisturise your scar from the outset, since scar tissue has no capacity to moisturise itself. Unscented creams are recommended. This type of intensive care is important to keep the scar tissue soft and flexible as well as capable of bearing weight. This is essential in terms of being able to wear a prosthesis, because proper care can prevent pain on the residual limb due to movements in the prosthetic socket.
See what’s next for your journey with an upper limb difference
Preparing for your amputation surgery
An amputation is a major medical procedure that your care team will carefully plan and prepare you for. Find out what to expect from that important process.
An amputation is a major medical procedure that your care team will carefully plan and prepare you for. Find out what to expect from that important process.

Learning to use a prosthetic arm
A prosthetic arm can make a big difference in your day-to-day life, but learning to use one takes lots of practice. Find out how to pick the right device and get the most from it.
A prosthetic arm can make a big difference in your day-to-day life, but learning to use one takes lots of practice. Find out how to pick the right device and get the most from it.

Exploring bionic life stories
Discover a truly remarkable group of people who've come together to share their experiences, their inspiration, and their tips and tricks for living an empowered life with a bionic hand. Come explore their inspiring stories - and share yours!
Discover a truly remarkable group of people who've come together to share their experiences, their inspiration, and their tips and tricks for living an empowered life with a bionic hand. Come explore their inspiring stories - and share yours!